Arizona Lock Installation
Door Lock Installation in Phoenix, AZ
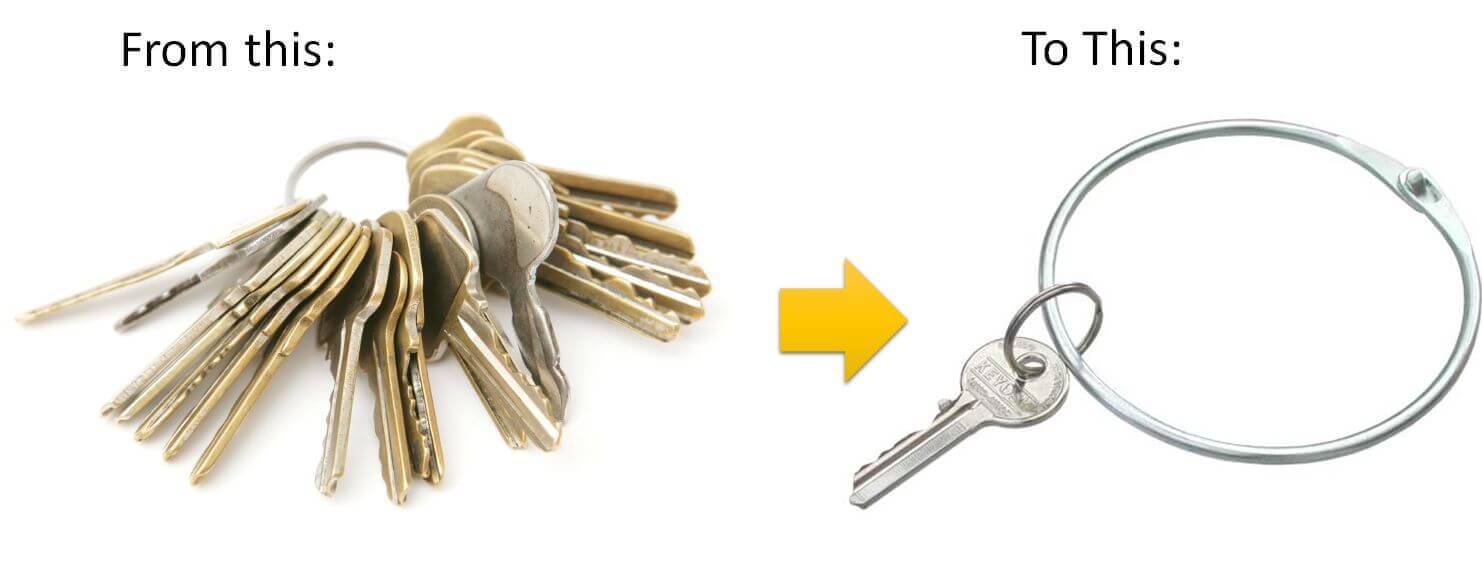
Deadbolts, smart locks, and commercial hardware, installed right and backed by a 1-year warranty.
Phoenix Door Lock Installation, Done Right
ACME Locksmith has installed tens of thousands of locks across the Phoenix metro. We are a licensed, bonded, and insured Arizona company (ROC #271563), in business since 1997, with four valley shops and more than 170,000 jobs completed. We handle deadbolt installation, knobs and levers, electronic locks, smart locks, high-security cylinders, and commercial hardware for homes and businesses, and every install is backed by a 1-year workmanship warranty. We install across Phoenix, Mesa, Scottsdale, Gilbert, and the rest of the metro.
Locks We Install for Homes
The right lock for the door, installed to last.
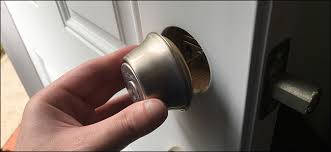
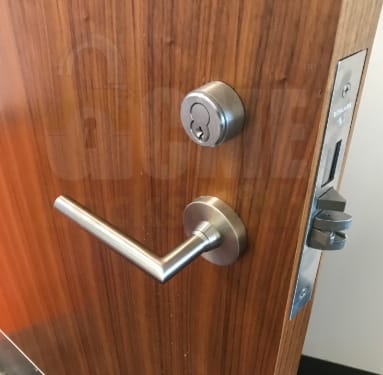
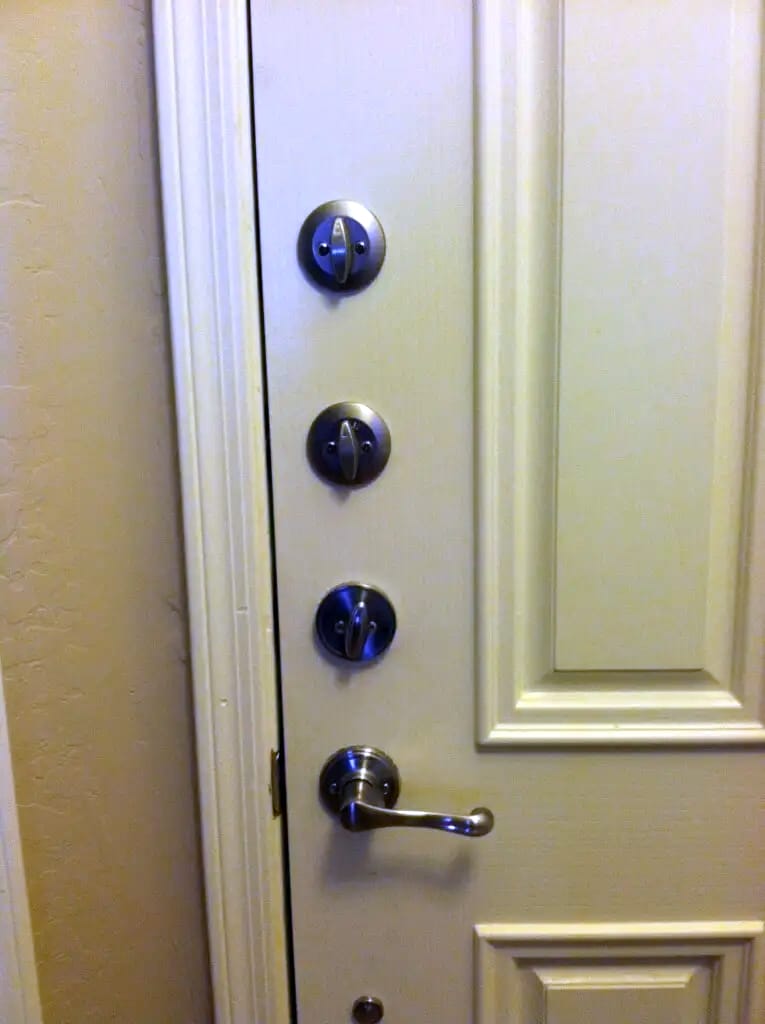
Deadbolts
Single, double, and half deadbolts, set at the right height and reinforced to resist kick-ins. We explain where code allows double-sided.
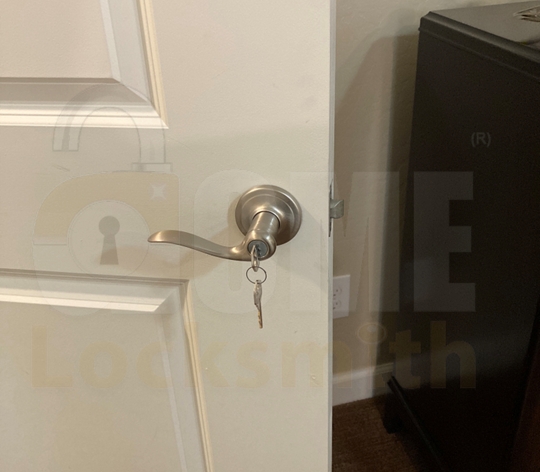
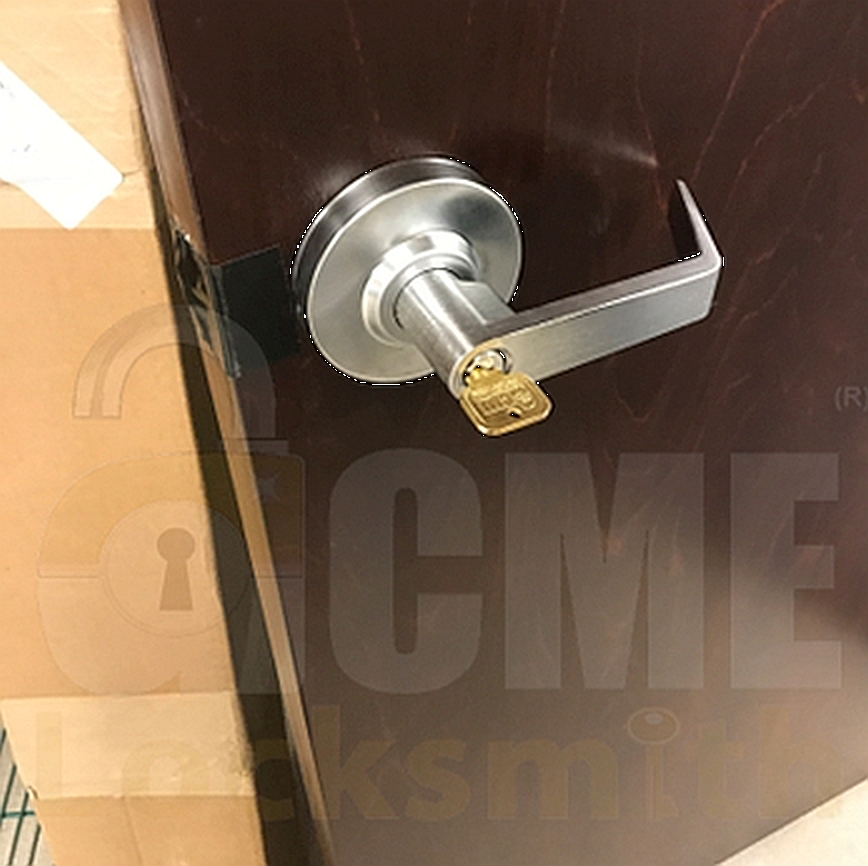
Knobs and levers
Interior and exterior hardware. Levers are easier to use and ADA compliant.
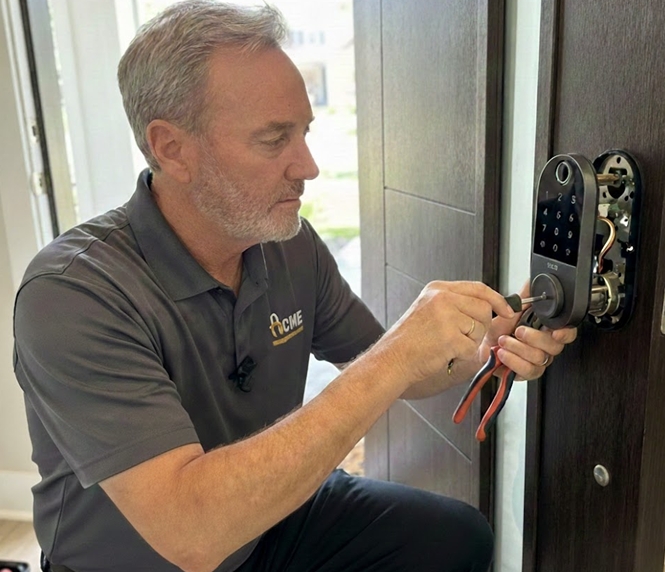
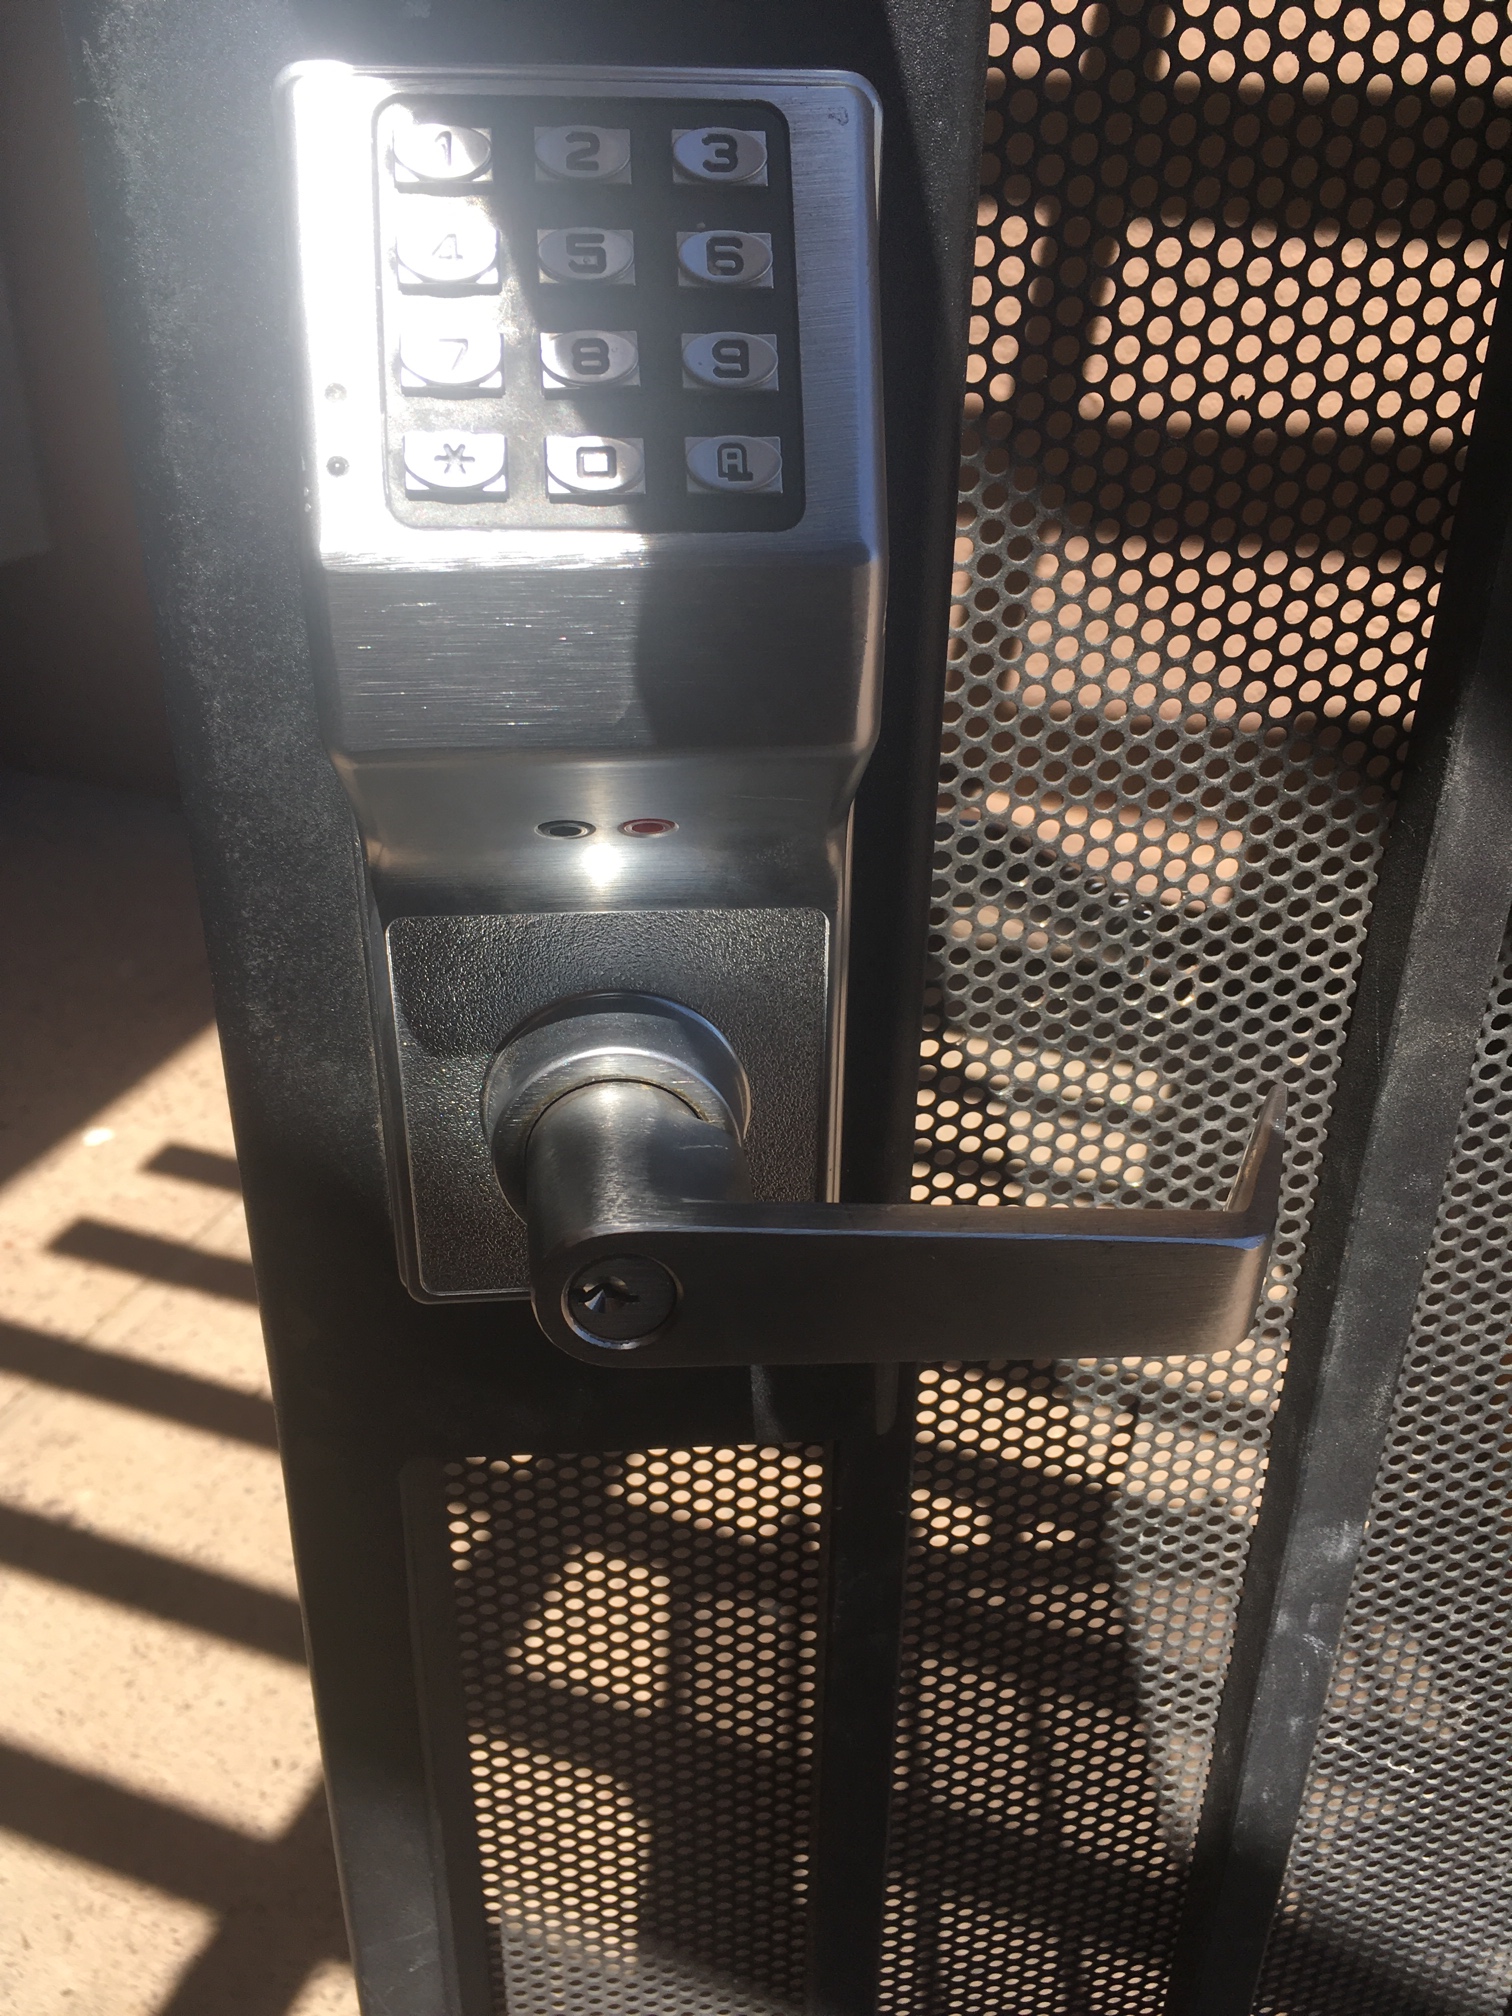
Smart and high-security
Keyless smart locks and pick-, bump-, and drill-resistant high-security locks for a serious upgrade.
Locks for Phoenix Businesses
Commercial levers and deadbolts
Grade 1 hardware built for high-traffic doors.
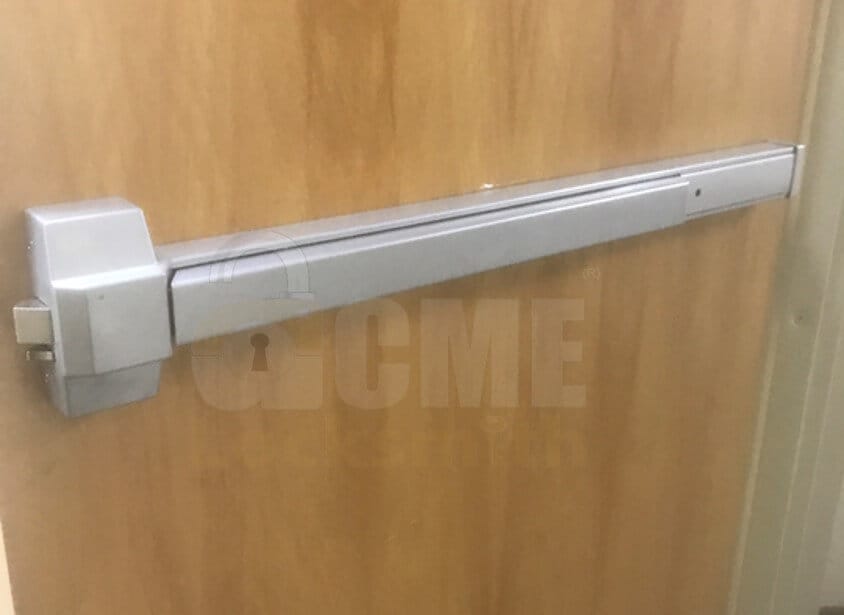
Panic and push bars
Code-compliant emergency exit hardware.
Mortise locks
Heavy-duty locks built into the door.
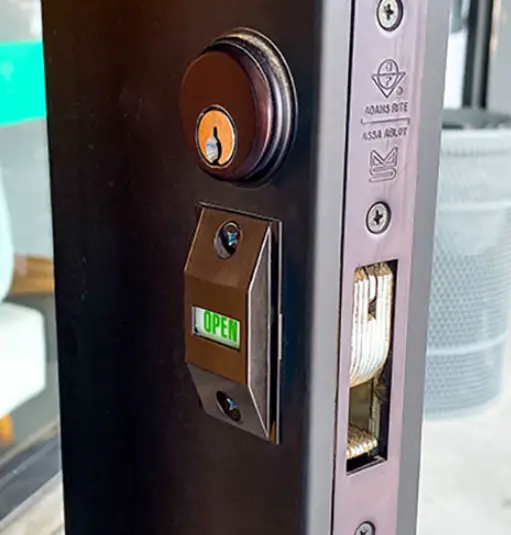
Exit and occupied indicators
Required by some city codes; shows locked or occupied status.
Gate locks
Keyed and keyless gate lock installation.
Brands we install: Schlage, Kwikset, Yale, Emtek, Baldwin, Best, Corbin, Medeco, Mul-T-Lock, ASSA, Sargent, Falcon, and more.
Installed to Code, Reinforced to Last
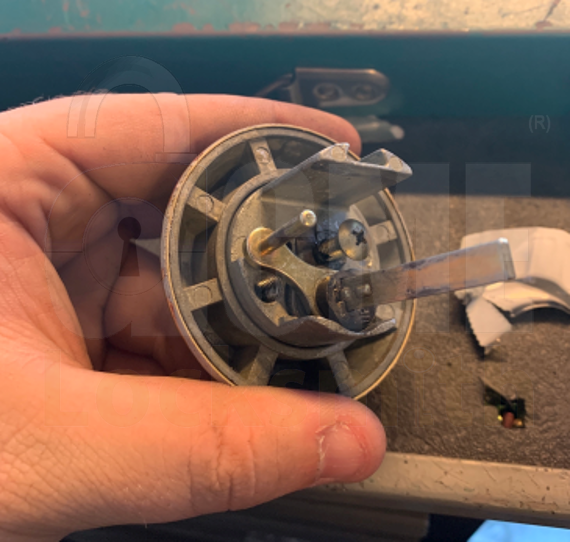
Installing a lock is not slapping it on the door. We remove the old hardware, prep the opening, set the lock at the right height to meet code, reinforce the strike with 3-inch screws so the door cannot be kicked open, and test for smooth, solid operation. Smart locks get programmed before we leave.
We fix bad DIY and handyman jobs every week: screws too short to hold, no strike reinforcement, crooked locks that bind, and hardware loose enough to pop with a piece of plastic.
What to Expect When We Install Your Locks
You get a price before we start, not after. We quote the hardware and the labor up front, so there is no surprise when the work is done. Most home lock installations are finished in a single visit, and in many cases we can come out the same day you call. Already bought your own locks? We will install those too, as long as they are good quality and fit the door.
Not sure which lock you need? Tell us the problem and we will walk you through the options on the spot: keyed alike so one key runs every door, a smart lock for keyless entry, or a high-security cylinder for real pick and bump resistance. Every job is cleaned up, tested, and backed by our 1-year warranty before we leave.
Serving the Phoenix Valley
We serve the entire Phoenix Valley from four shops: Phoenix, Mesa, Scottsdale, and Gilbert, with mobile service across the metro.
What Customers Say
-
The young man who installed the lock on my door did an excellent job. He was so nice! I would recommend Acme Locksmith to anyone in need of this installation. Thank you so very much. I am hoping I get this right…I think his name was Matt. … More
-
Brian and Ryan were great to work with. They got the safe installed perfectly into a VERY tight fitting spot. No mess-no fuss.
The safe's combination functions were explained well and all the extras plus my -
Prompt and efficient service. Installed the Schlage Encode Plus very satisfactorily.


Lock Installation FAQ
What is the difference between a single and double deadbolt?
A single deadbolt turns with a thumbturn inside. A double needs a key on both sides, useful near glass, but limited by code on some doors. We explain what is allowed.
Need a Lock Installed in Phoenix?
Licensed, bonded, and backed by a 1-year warranty. Call or schedule today.

